I’ve been organizing my personal photos for almost our entire marriage (9 years)! I’m so happy I’ve been sticking to it because if it didn’t I definitely wouldn’t be revisiting past photos and memories as much as I do now. So today I’m going to walk you through my foolproof way of how I organize my personal photos and how I keep them accessible anytime I want to pull them up and show off an awesome trip that we took or a cute photo of Boris :)
STEP 1- SIGN UP FOR DROPBOX ONLINE
Dropbox is how I can access my personal photos on both my computers and my phone AND it even backs them up online so you’ll never lose your photos! Once you signup, download it to your computer and download the app on your phone.
You can use my link to get 500MB of FREE SPACE when signing up for dropbox. Get your free 500MB HERE!
STEP 2- CREATE A PERSONAL PHOTOS FOLDER
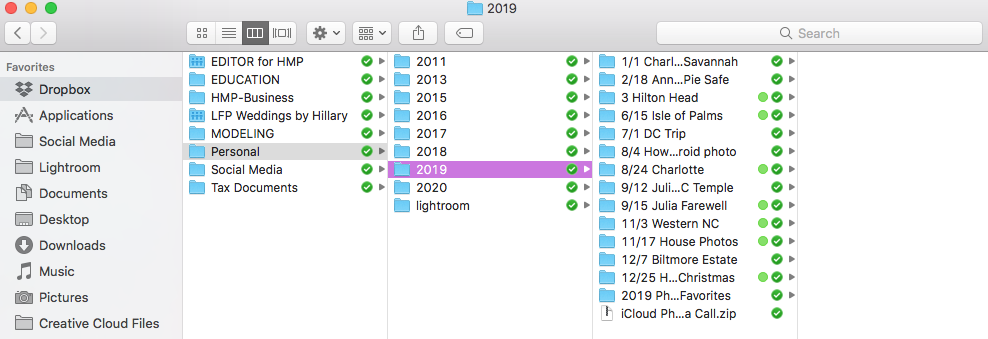
On your computer, create a folder in dropbox called “Personal”
STEP 3- CREATE FOLDERS BY YEAR
In the “Personal Folder”, create folders of multiple years that you wish to organize photos within.
STEP 4- CREATE FOLDERS BY MONTH AND EVENT NAME
These are the folders you’ll be storing your photos in. Reference the month (and the day if you remember it) followed by the event name such as “11/3 Western NC Trip”
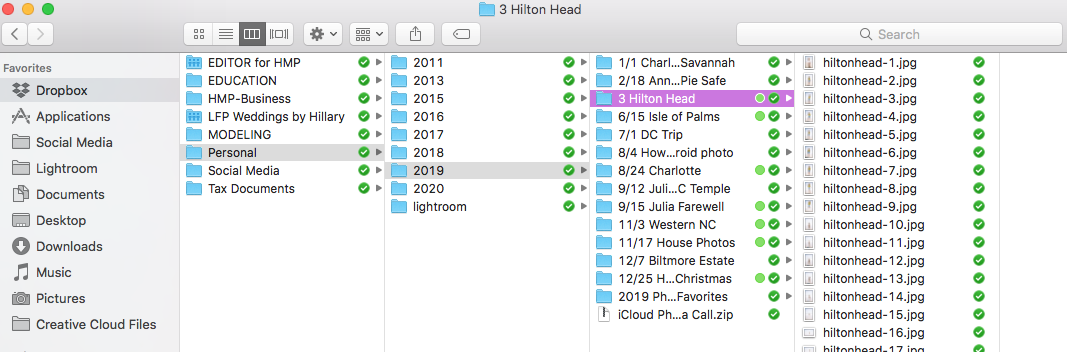
STEP 5- START DRAGGING YOUR PHOTOS INTO THE FOLDERS
Once the photos are in the folders (where you are doing this from your desktop or your phone), then the updates will start syncing to all the devices and save online. All the green checkmarks you see indicated that those files are done syncing to all devices.
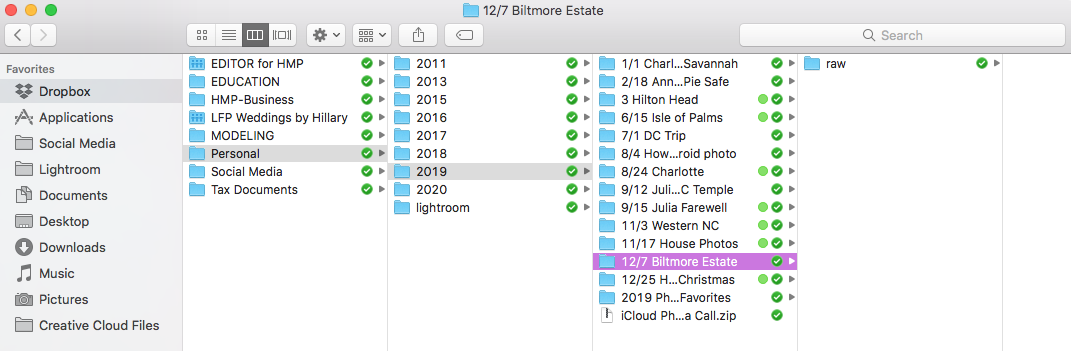
STEP 6- (skip if you only have photos in jpeg format) FLAG FOLDERS IN A GREEN COLOR IF THEY ARE EDITED
If you are a photographer and often shoot in RAW and then are guilty of having RAW unedited personal photos sitting on your computer, then this step is for you. I use the flagging system to easily see if the images in the folders are edited or not. If you right click on a folder, you can flag a folder with a color (I chose the green dot). The green flag indicates that the images in the folder are edited. No flag indicates that the images are still in RAW format and need to be edited (seen in the second photo below).
STEP 7- CONTINUE THIS PROCESS EVERY TIME YOU UPLOAD PHOTOS FROM YOUR CAMERA OR YOUR PHONE
Consistency is key! It takes 1 minute to quickly create a couple photos before uploading photos. It’s easy and keeps your photos organized and saved online forever :)
Enjoy a little video of how I organize my personal photos-