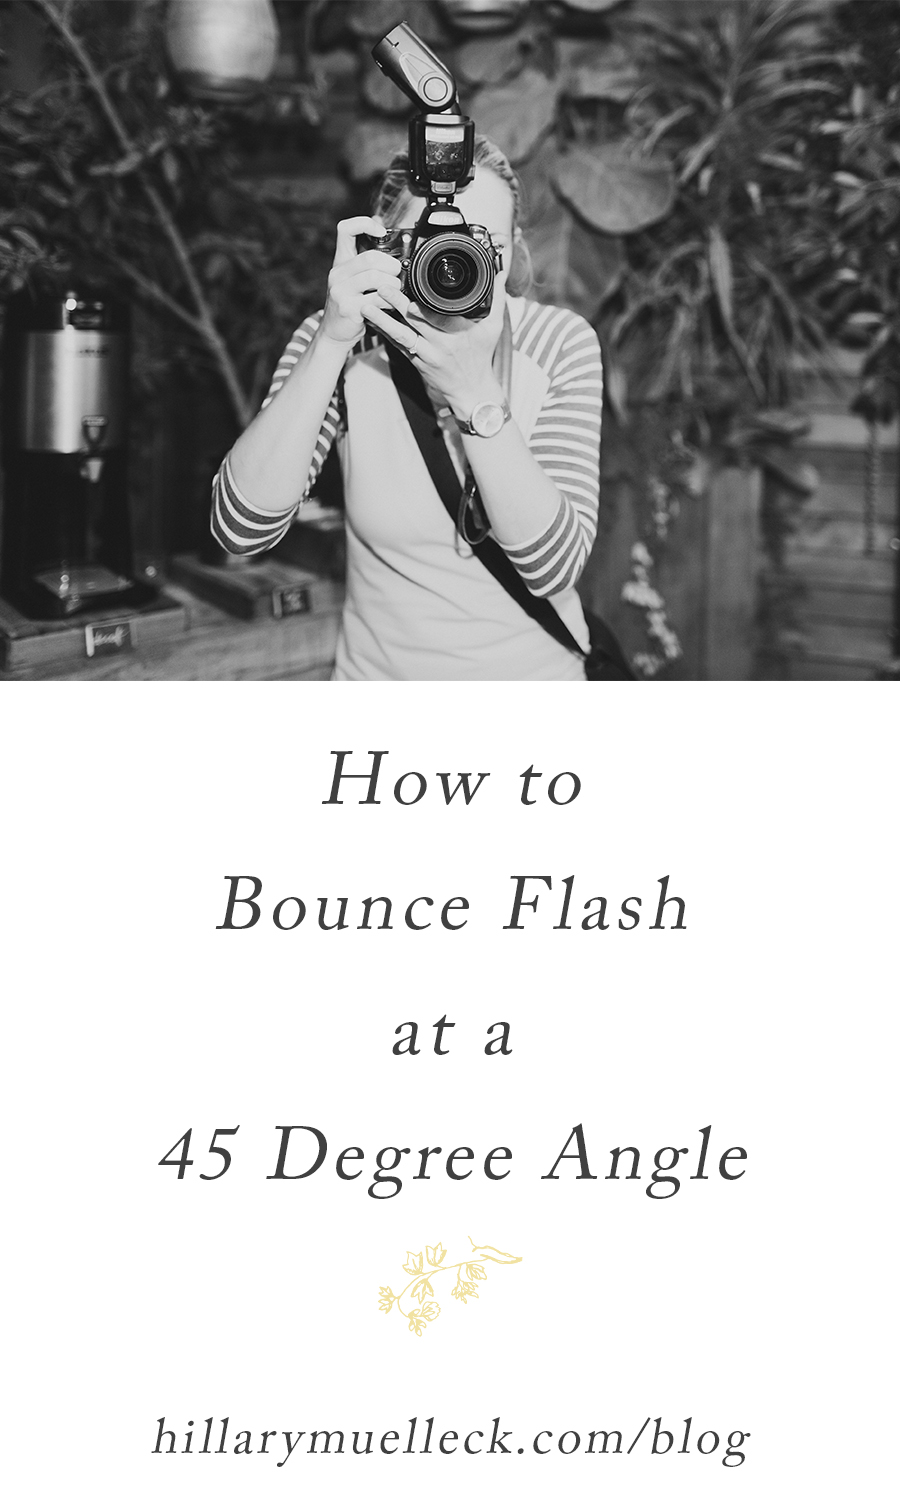
I often get asked how I handle reception lighting. Honestly I don’t think there is a right or wrong way! What it comes down to is your style and how you want the reception to be lit. Many photographers use OCF (off camera flash), bounce on-camera, using video lights, etc., and it just depends on your preference… but I’ll tell you my philosophy.
The end goal for every photo, no matter if you are using natural light or artificial light, is to get the photo as natural looking as possible. This goes for reception photos too! Imagine the reception venue has windows on all sides, and if it were light out then the sun would be coming through these windows and shining on the subjects indoors. This is exactly what we want to emulate when using flash. We want to mimic that idea that the light source is being produced naturally through those side walls.
So how do we do that?
The secret is, bouncing flash at a 45 degree angle.
When we tilt our flash to the side at a 45 degree angle, we are bouncing the light off the side walls and right to the subjects we are photographing! I use this technique 95% of the time at weddings. I love that when the light strikes from the side, there is a natural balance of light and shadows on all my subjects.
Think about it. When you are bouncing light straight up off a ceiling rather then the side wall, the light is bouncing down at the subjects illuminating their heads and creating shadows under the eyes and nose. Nobody likes hollowed eye sockets or glowing heads. Not very natural looking.. especially when trying to mimic light coming from imaginary windows on the side walls. Is it common to see windows on ceilings? Not very. So tilt that flash to the side :)
Another reason why I like bouncing at a 45 degree angle is it’s ALWAYS at bouncing off the side walls whether I’m shooting horizontal or vertical. I don’t have to turn the flash around at all. Here are some examples of what I mean by that:
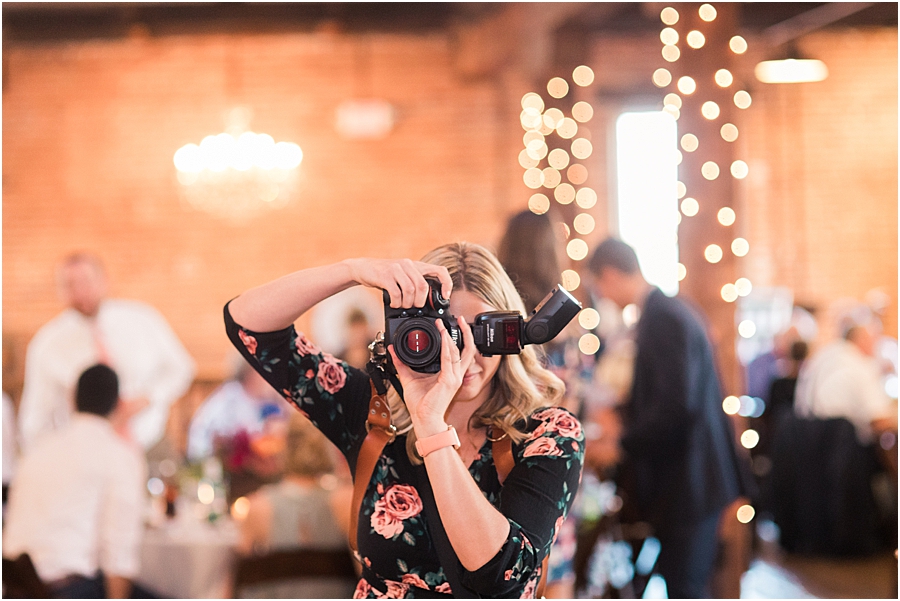
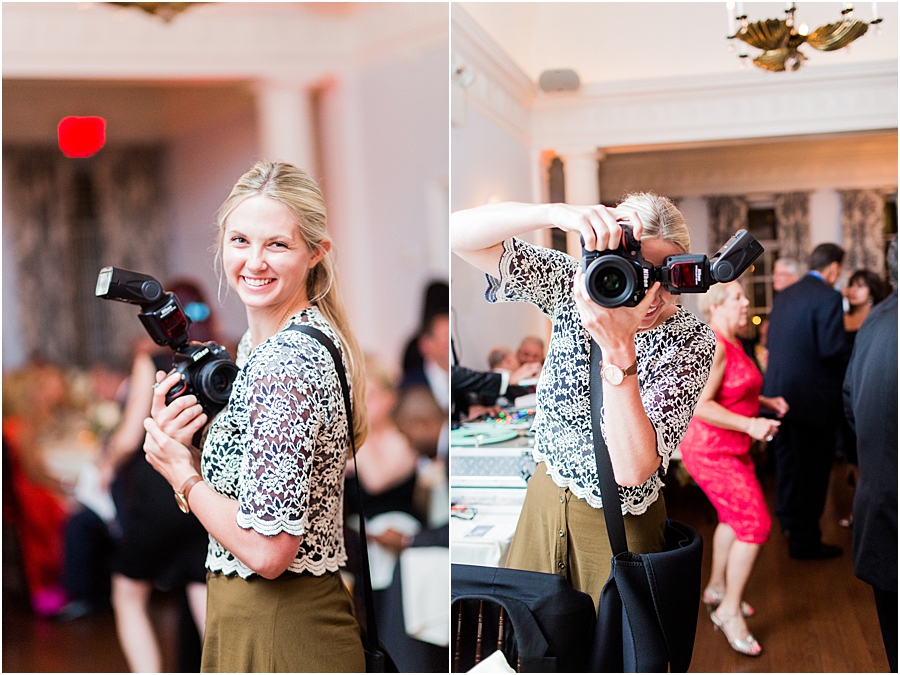
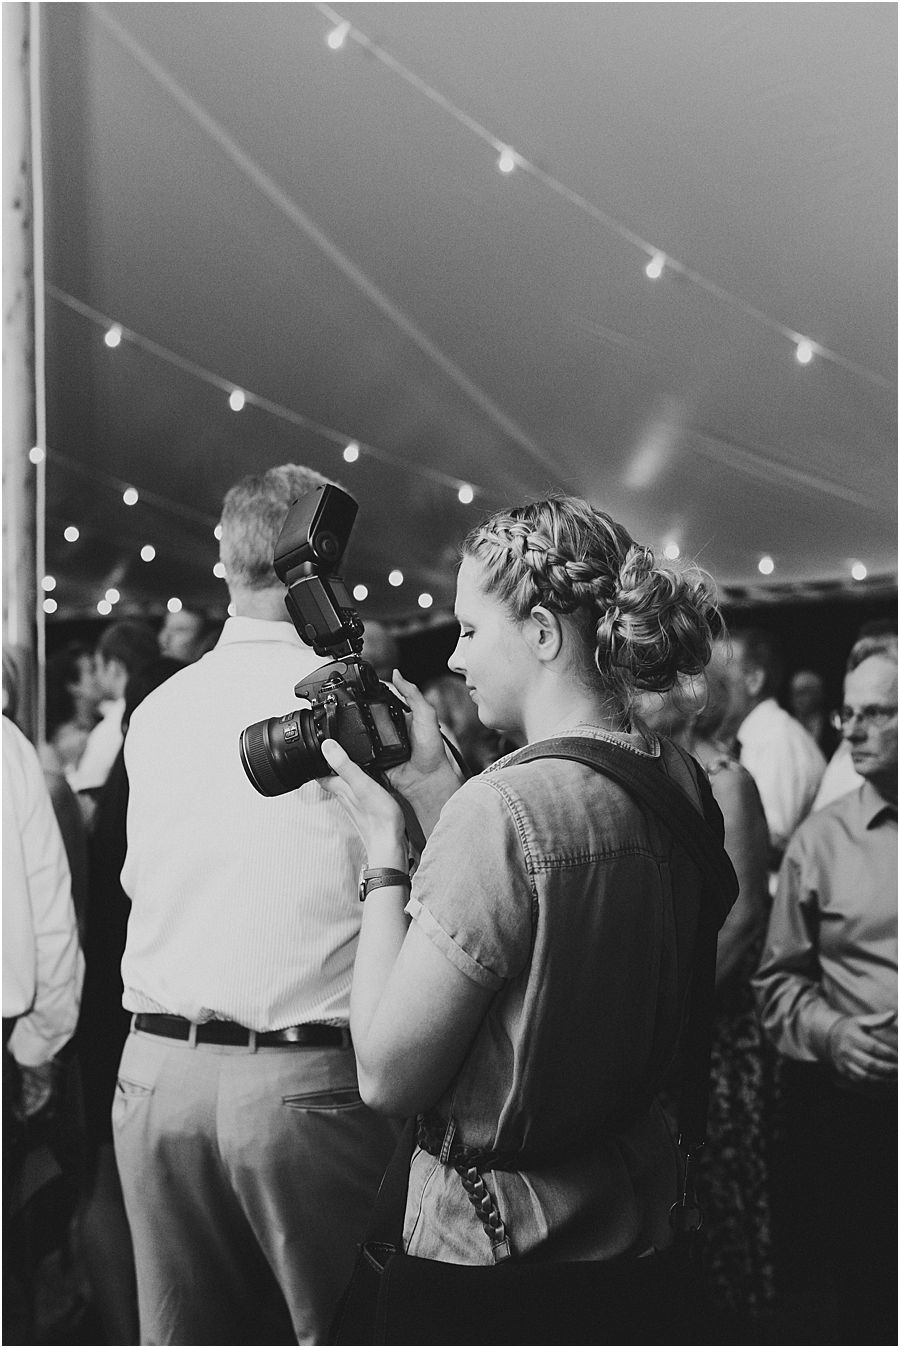
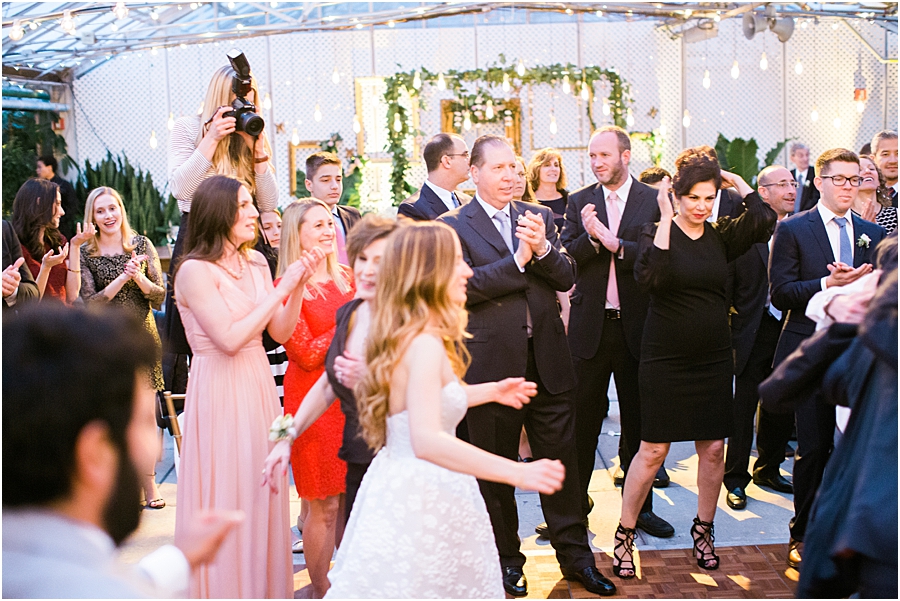
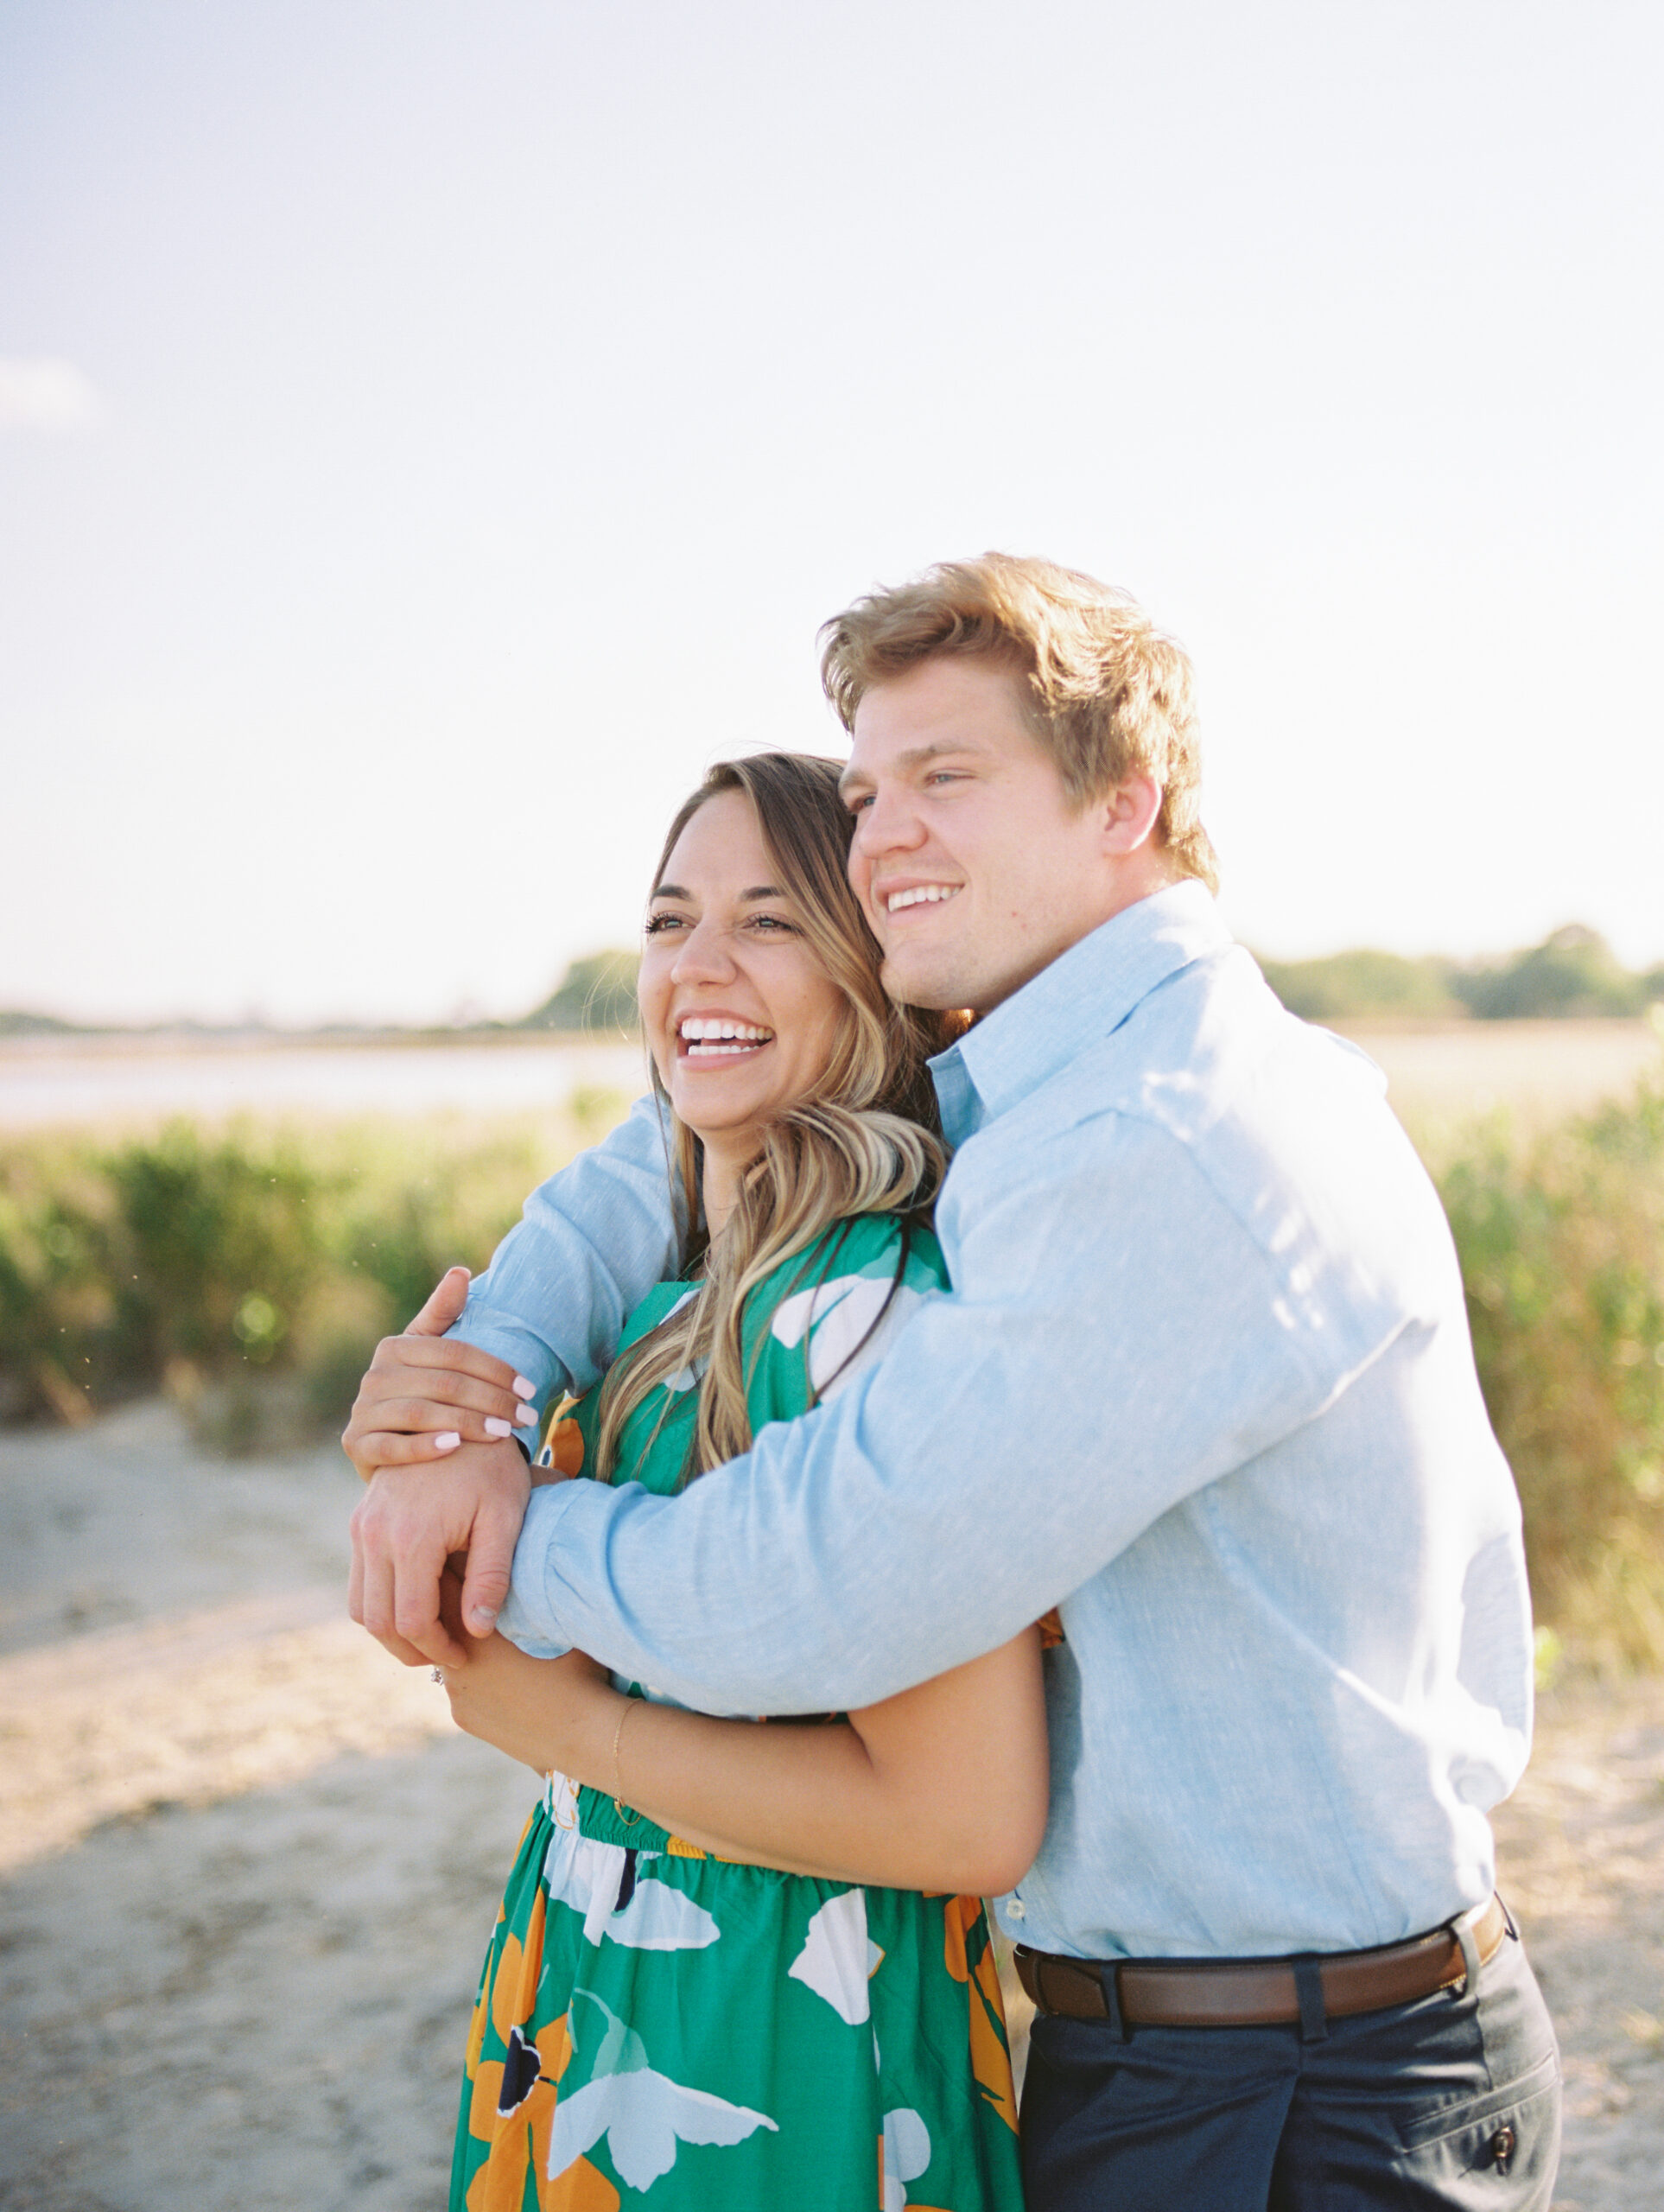
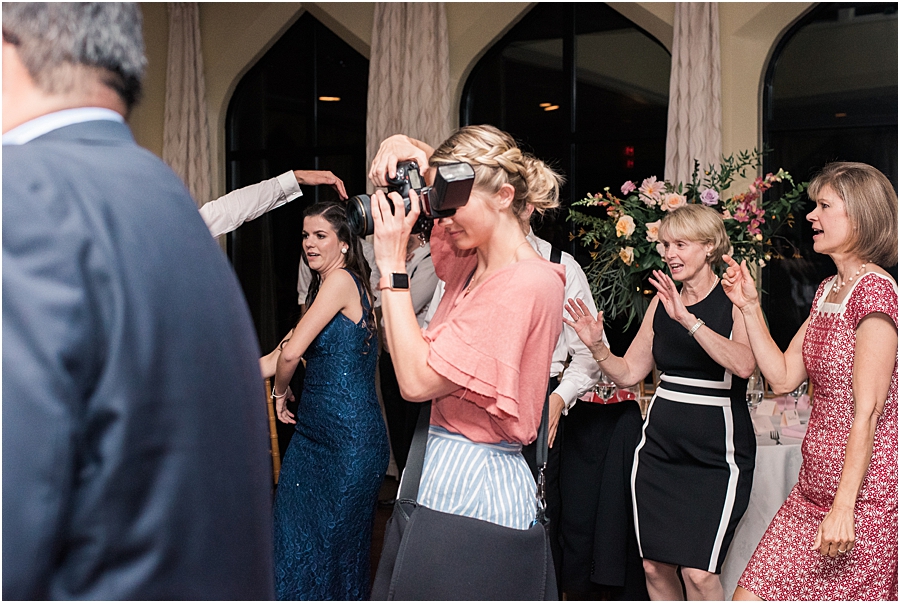
And here are some examples of what my photos look like while I’m bouncing flash at a 45 degree angle. If you notice, my images have good contrast and everyones faces are well lit while still having good shadows on the sides that aren’t being hit by the flash:
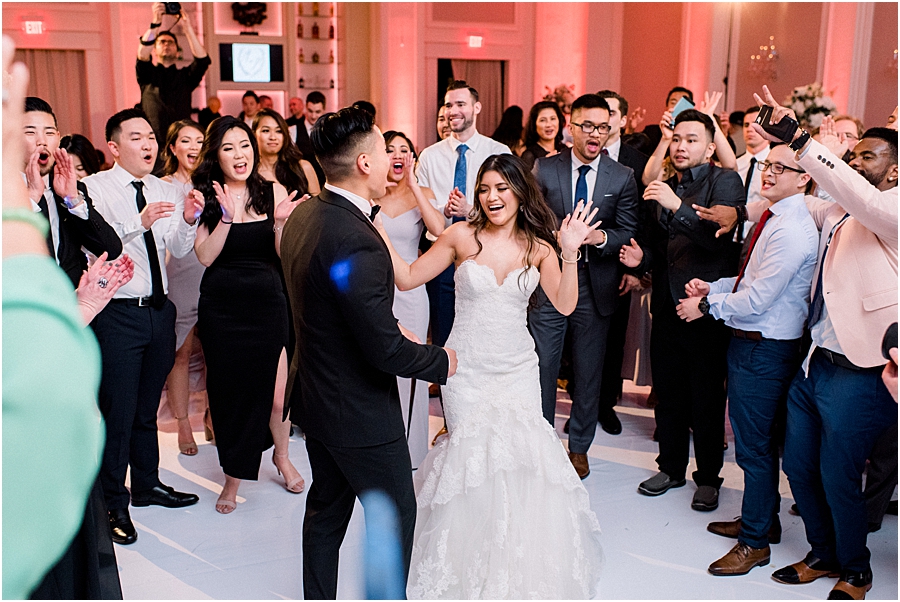
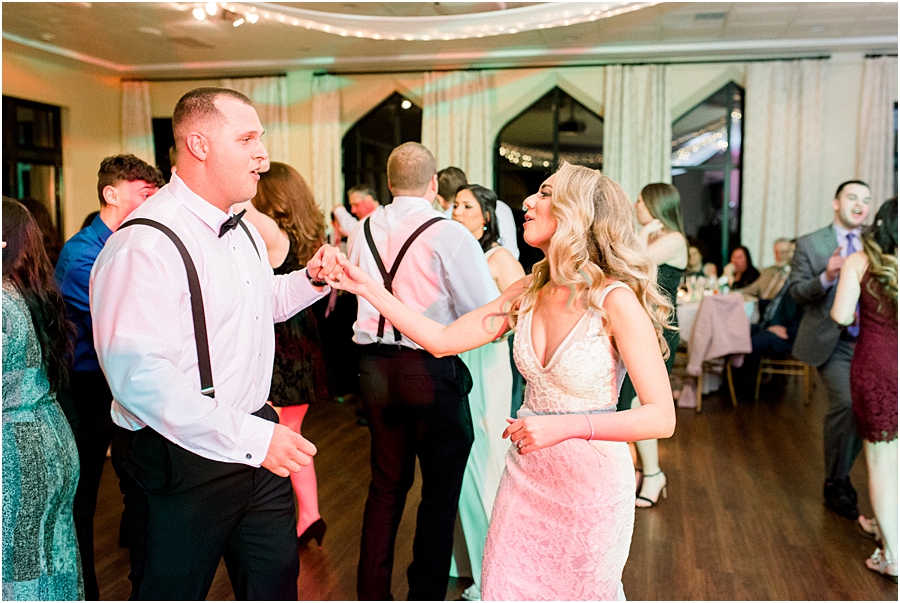
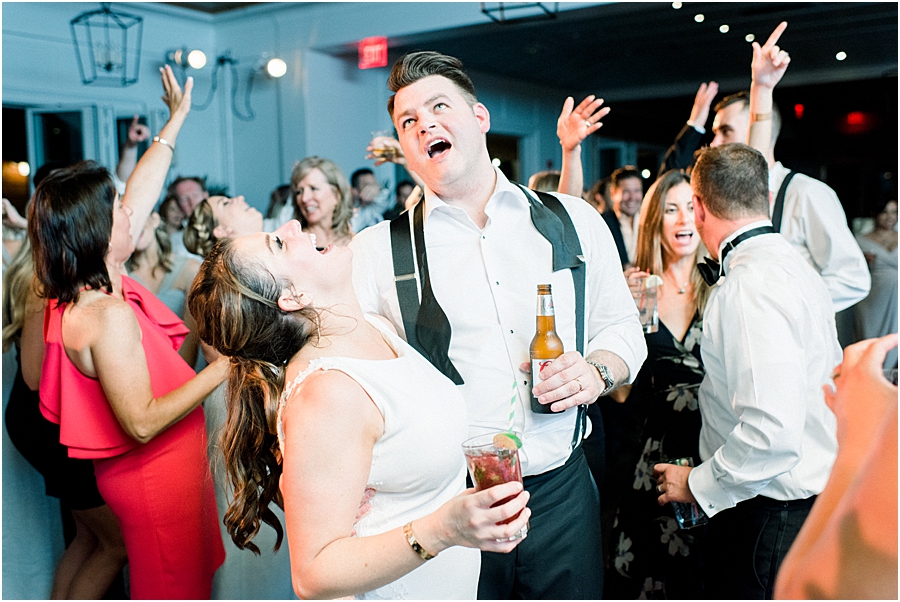
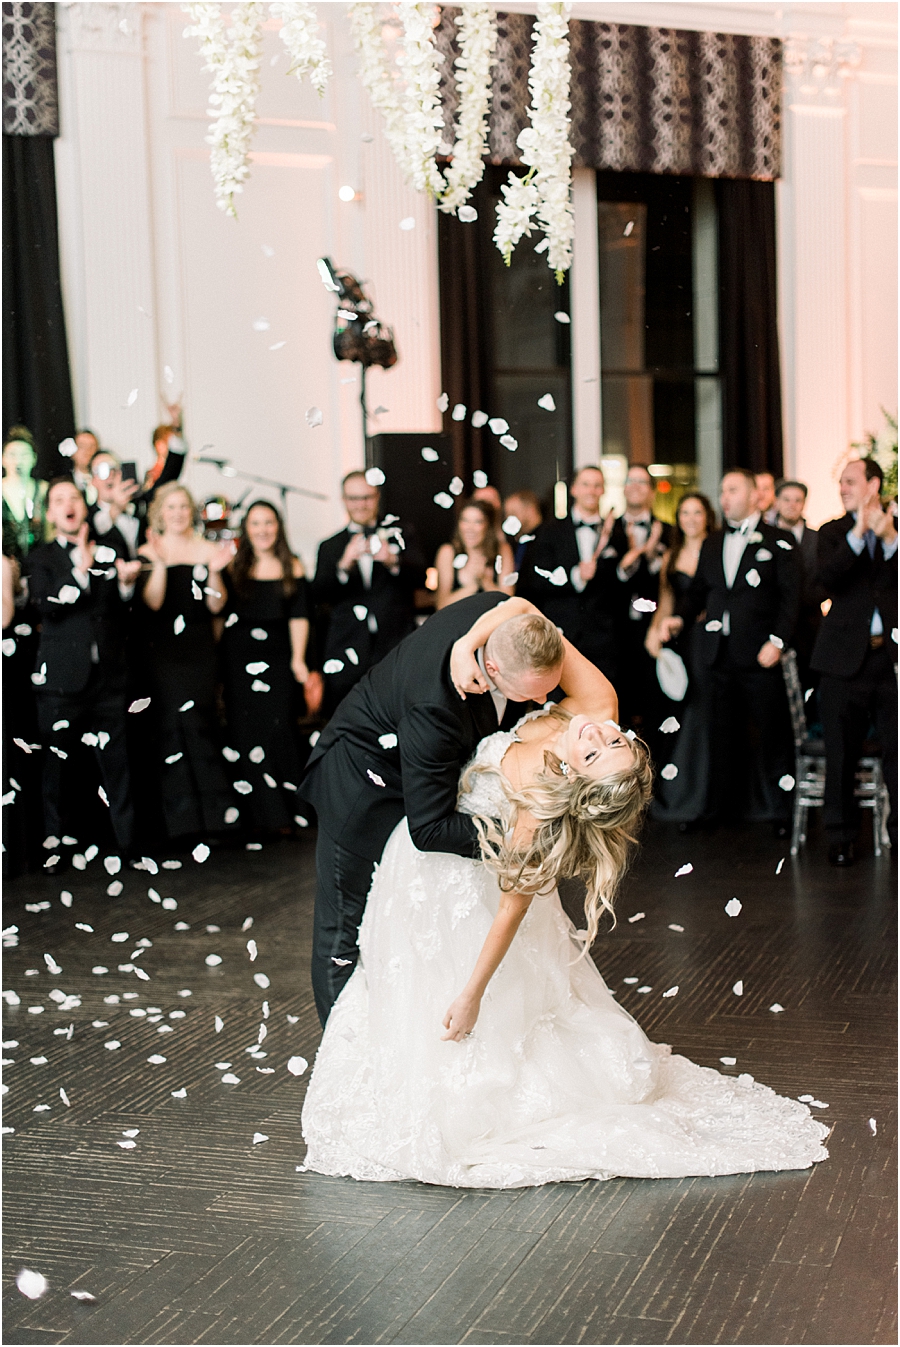
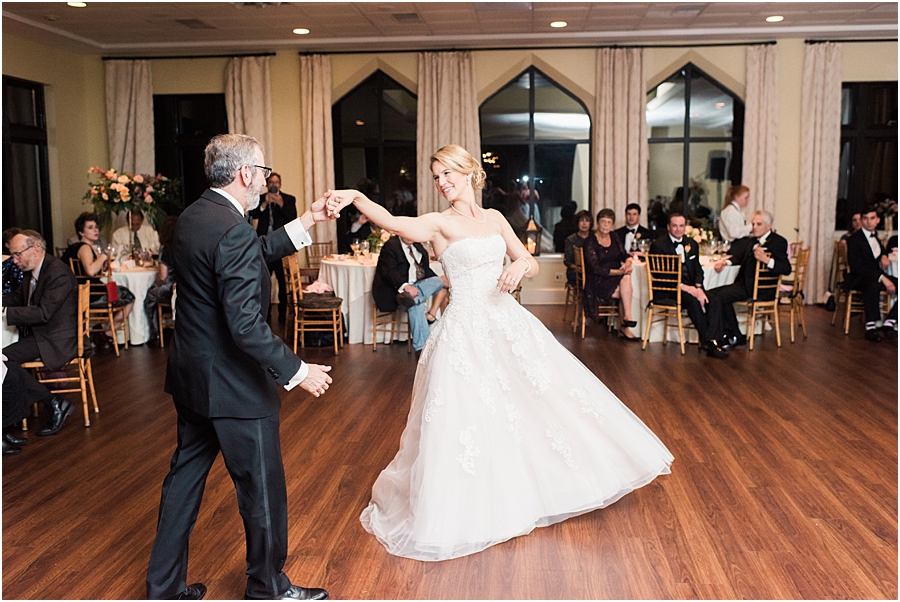
I know some of you are going to ask “what if the event is outside with no walls to bounce” or “what if the walls are brick and cast a funky color when bouncing off them”. Well there are exceptions to every rule. 95% of the time the 45 degree bouncing technique is GOLD, and the other 5% we need to do something different. This is why we make sure to educate ourselves in all kinds of light so we can be prepared.
What I do when we are outside is one of 2 things. #1 is I’ll set up a video light (this is the one that I have). I love the look of a video light because again, it looks very natural. I still set it up on the side so it mimics side window light. And I can easily increase or decrease the intensity of the light along with the TEMPERATURE of the light. Using a video light is also my secret to amazing SPARKLER EXITS! This is what both look like:
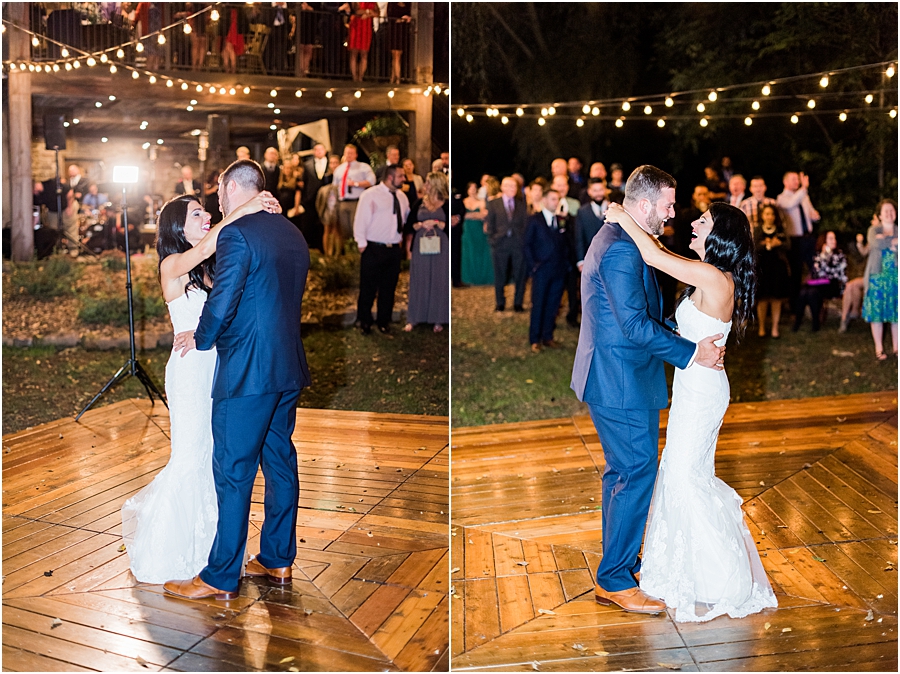
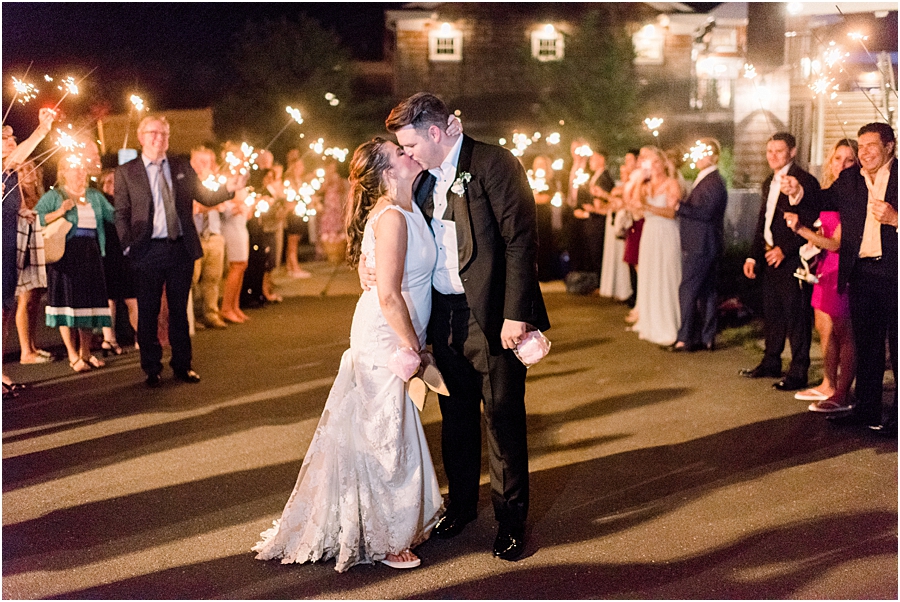
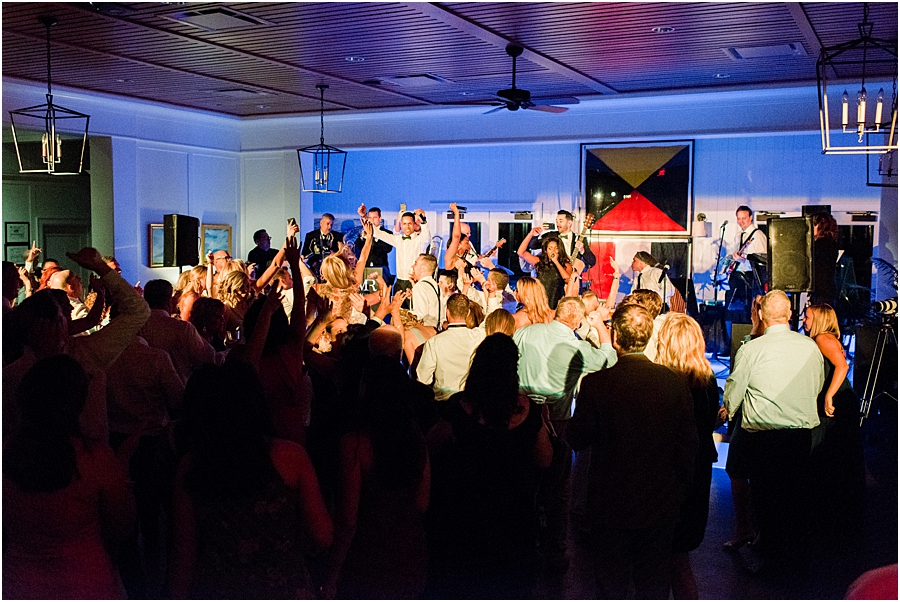
*You can use video light indoors too for a different look! This photo has multiple video lights on the band and I love how it draws your focus in to the party!
The #2 option for outdoor photos in a pinch if you don’t have time to set up your video light is to point your flash up and pop out your white bounce card. You’ll get results that look like this:
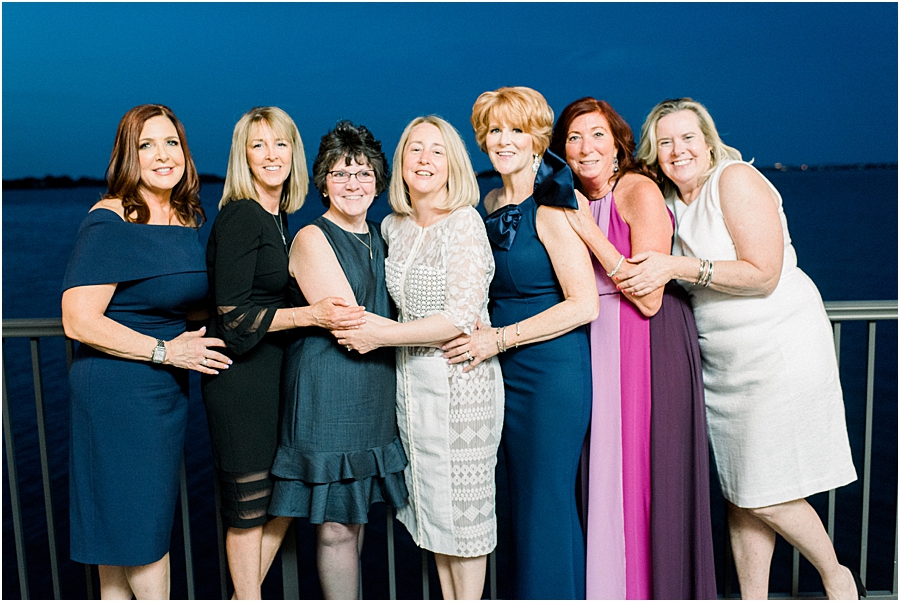
Try these techniques out and let me know if you have any questions! There are always cases where bouncing flash doesn’t work, but 95% of the time this technique gives me amazing and natural looking photos.
