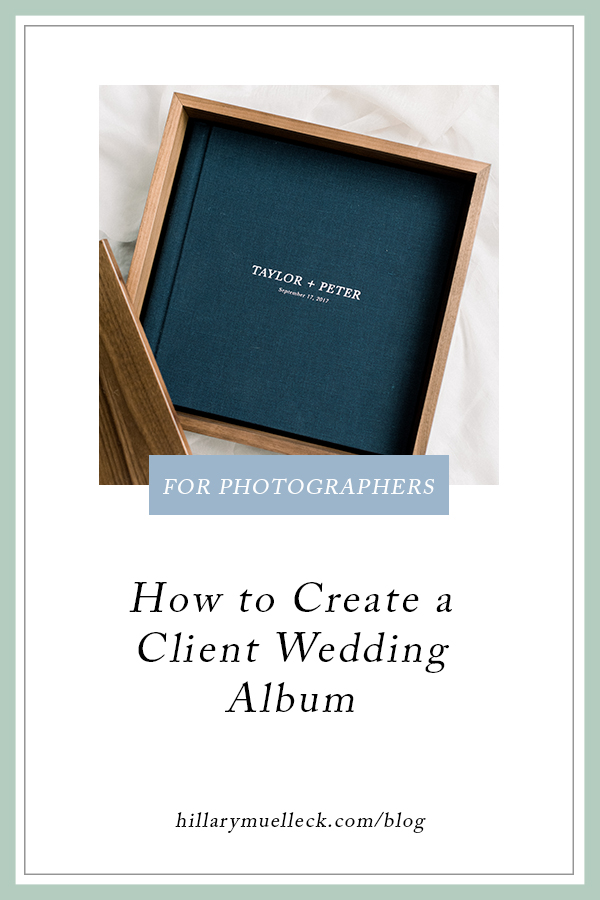
The first time I got asked if I offered albums, I said “yes!” and knew I’d figure it out later. Isn’t that sometimes how it is in this business?? We just figure it out as we go! I was super nervous though because albums are a lot of money and I felt like there were a lot of ways that I could mess it up. I could design it with the wrong dimensions, not have enough layout options, the client could hate the proof, or the back and forth revisions could frustrate both of us.
Well come to find out, it’s actually quite easy! I discovered the program “Pixellu Smart Albums” and it’s exactly that. A smart way to create albums. Here are my favorite features:
- preset book dimensions for printing through the album company of your choice
- easily drag and drop photos on each spread
- endless layout options to find the best fit
- online album proofing for clients to easily make comments for revisions
Now I’m going to go through my process of how I design my client albums!
#1 Start the Application
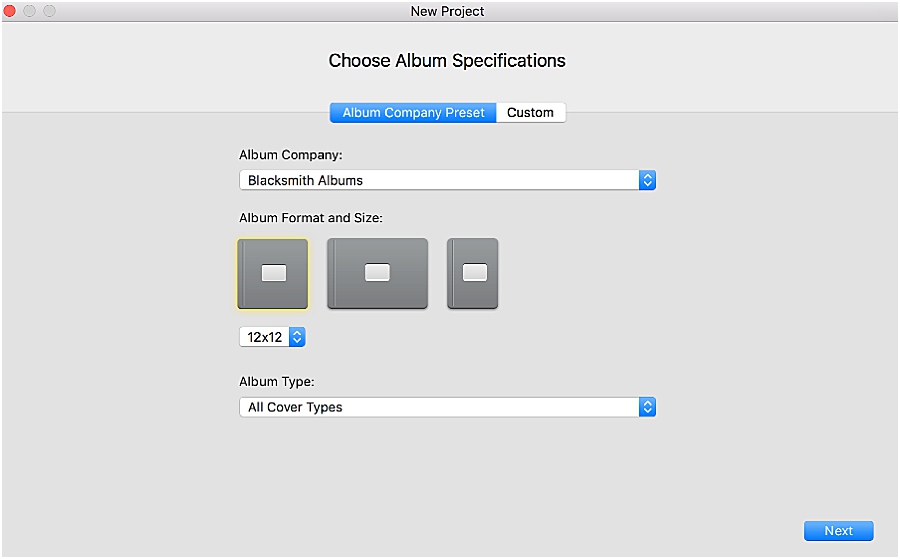
Open the Pixellu Smart Albums application, select my album company of choice, and the size of the album I’m wanting to create. Then I create the album name such as “Katie+Phil’s Wedding” and save it to a folder on my desktop.
#2 Add your Images
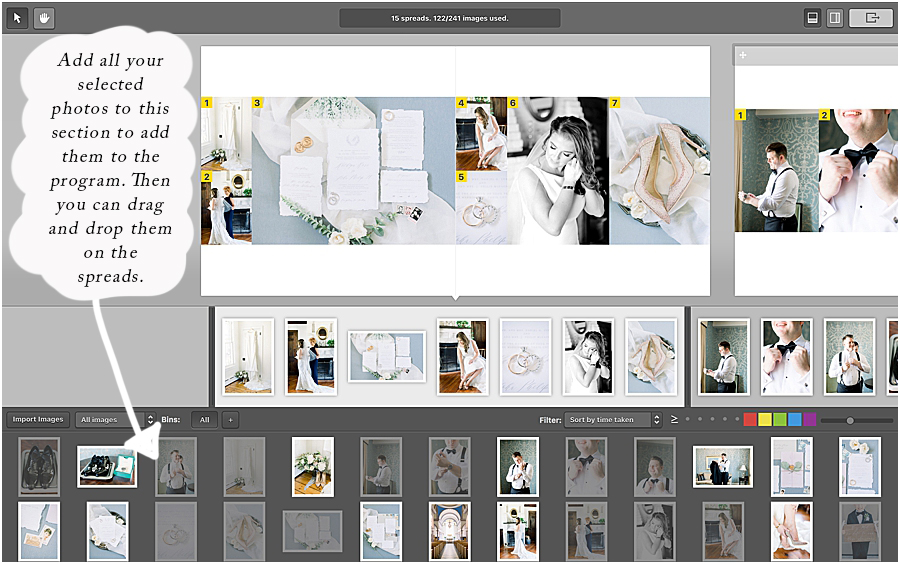
There are two options I give my clients. The first is they can select between 80 and 100 images that they’d like to have in their album. They create that favorite’s list in their Pixiset gallery then I download it. The second option is I’ll select about 100 images that I feel best tell the story of the wedding day and design the album with those.
#3 Designing the Album
You can easily drag any images up onto a spread and automatically a layout will be generated. If you don’t like that layout, you can click the arrows to cycle through all the different options until you find one you like.
#4 Exporting for proofing or printing
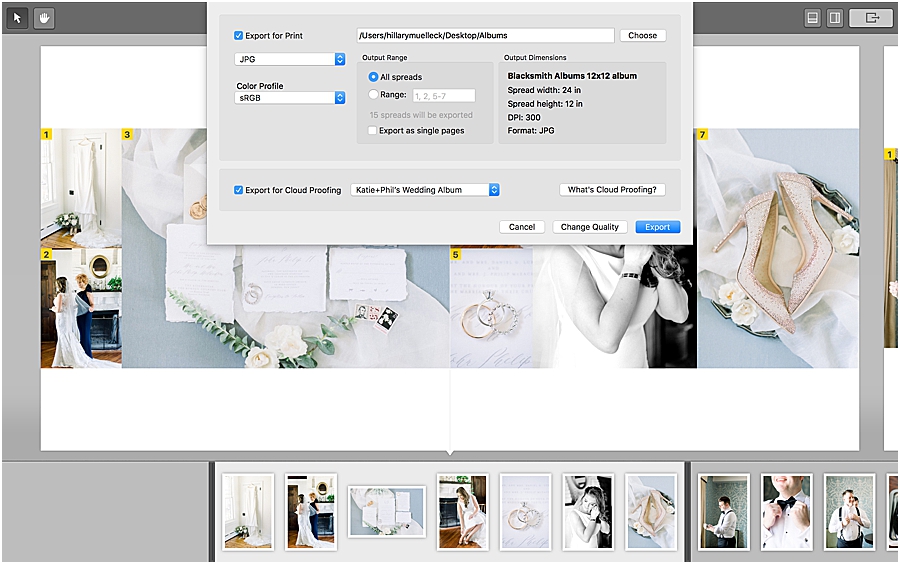
Once you are finish designing, push the button in the top right corner to export for cloud proofing or for print.
#5 Cloud Proofing
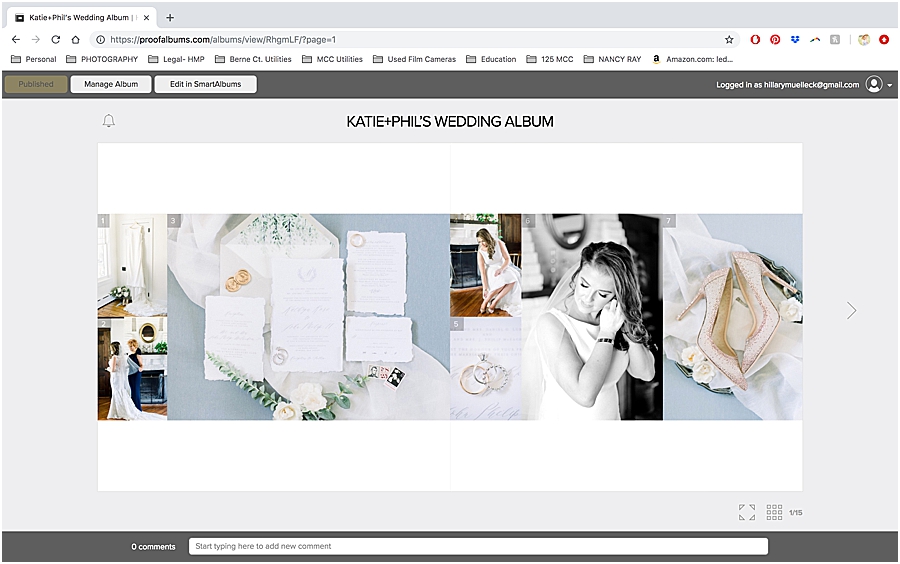
When exporting for cloud proofing, it sends the clients a link to a proofing website where they can make comments on any of the spreads they’d like to revise.
#6 Making Revisions
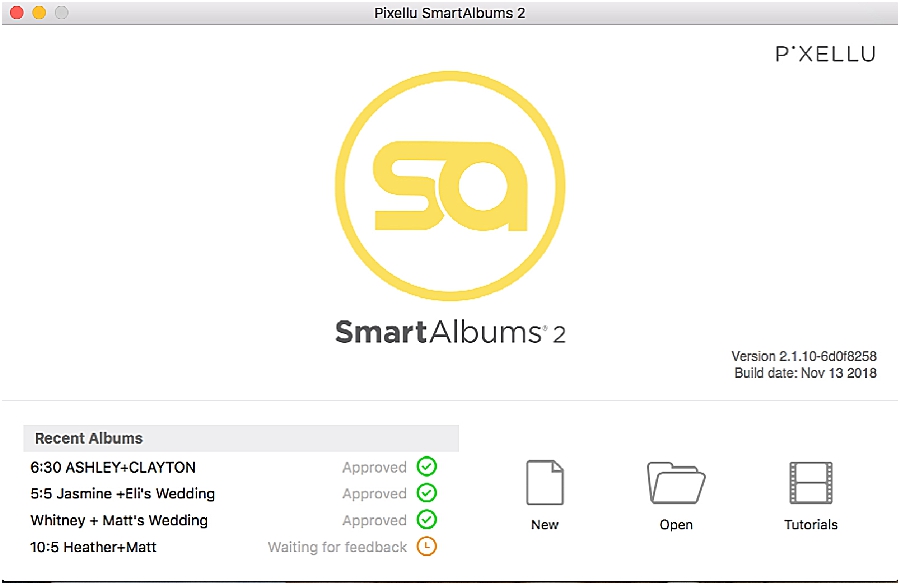
When the client submits their comments, I get notified to those revisions and see them when I open my Pixellu Smart Albums Application again. Upon opening, I see a list of all my recent albums with a symbol of what stage in the process we are in. The yellow means that I’m waiting to hear back from them, red means they’ve submitted revision requests, and green means they’ve approved the album and it can be exported for print!
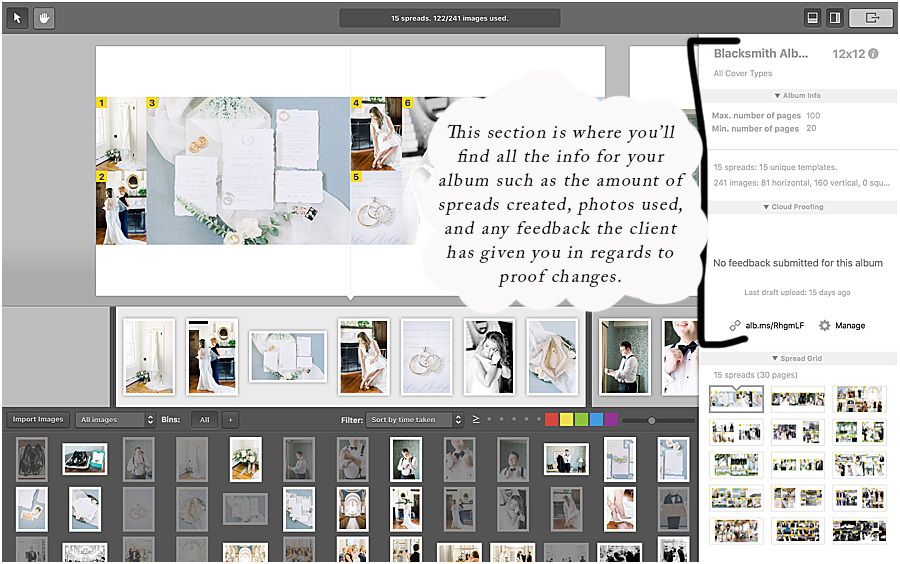
If they do send revisions, those pop up on the righthand side of the app. I can go to each spread to make the changes and check them off as I go. When I’m done, I export it for cloud proofing again so they can either approve or make additional comments.
#7 Ready to send to the Printer!
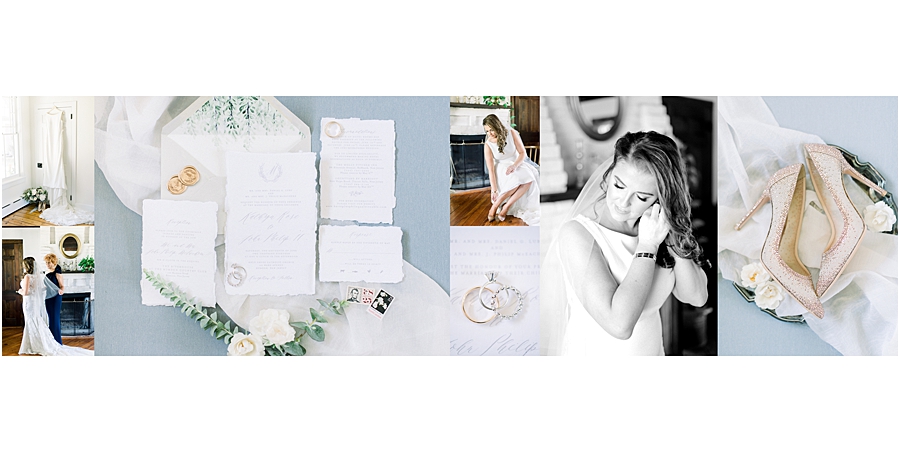
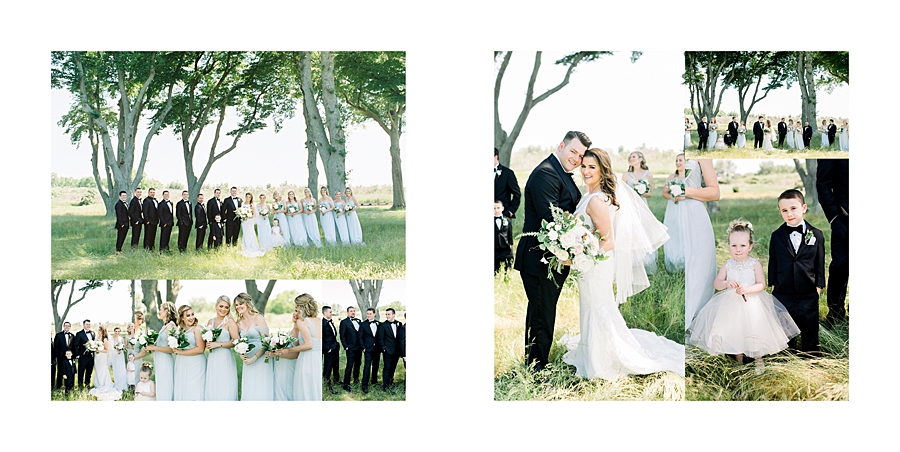
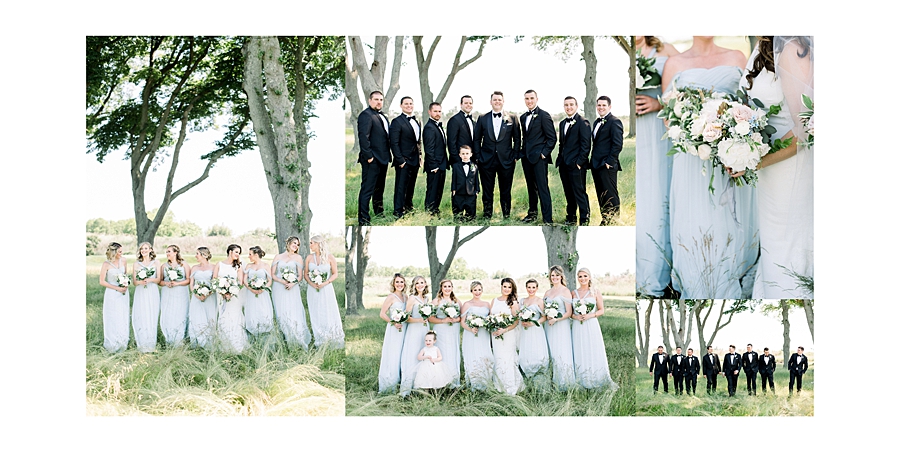
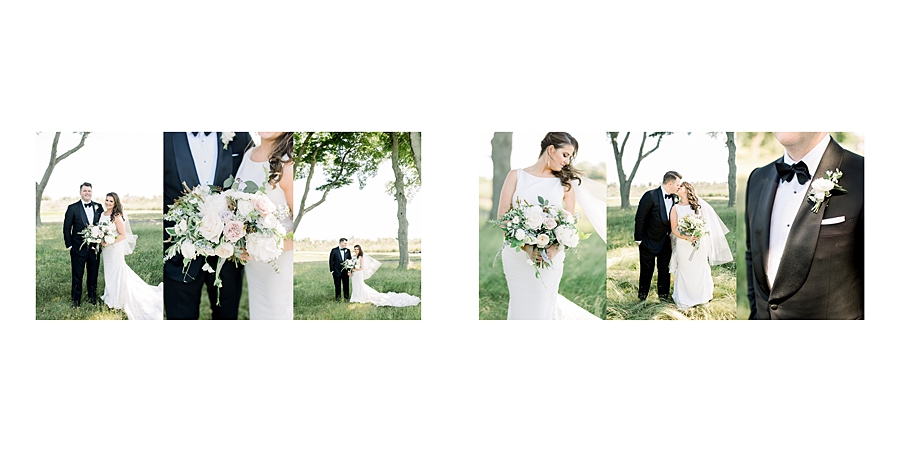
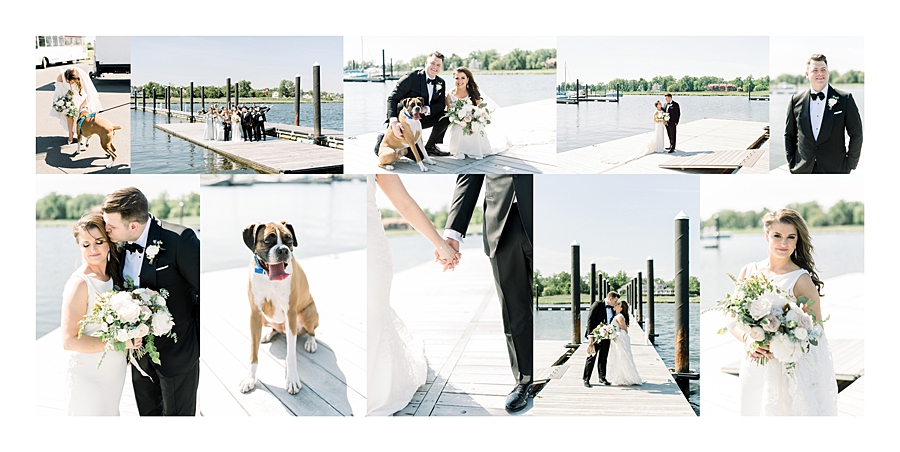
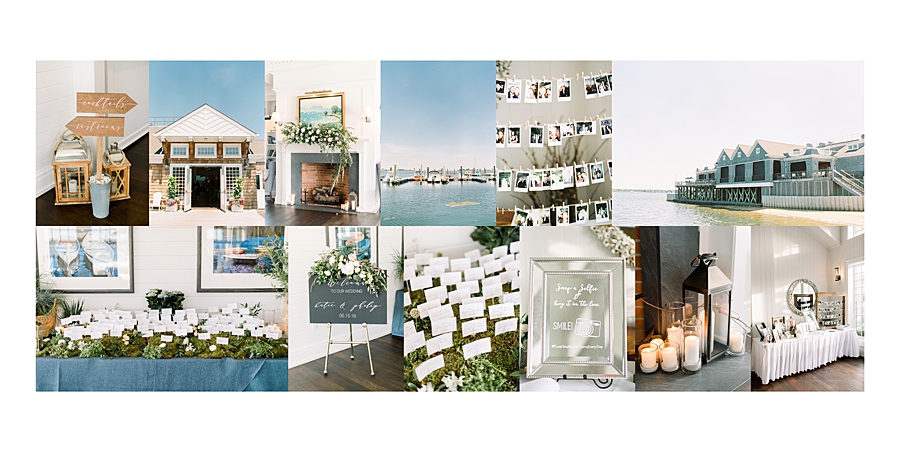
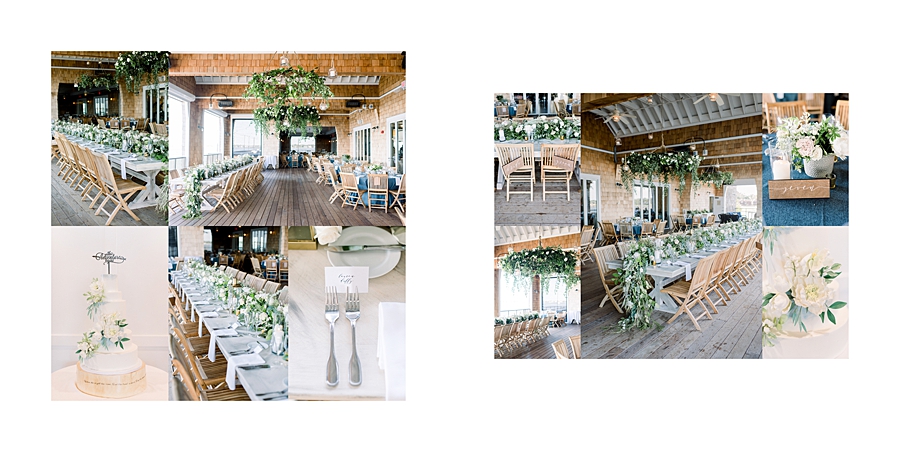
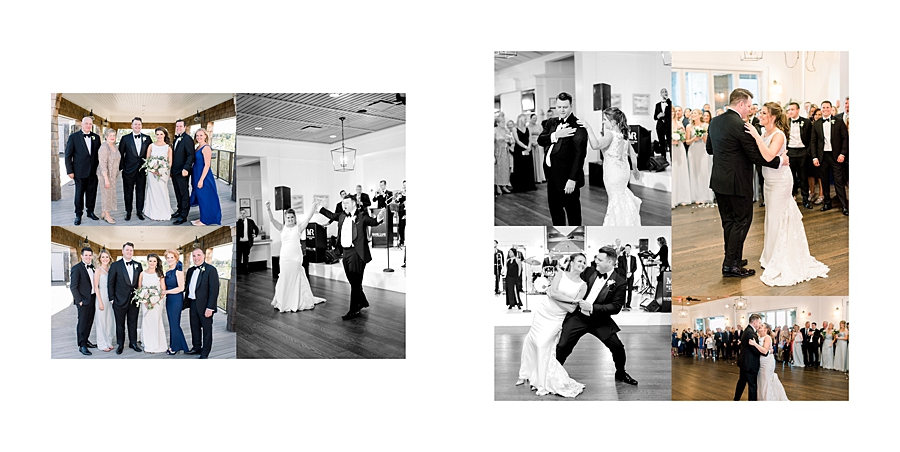
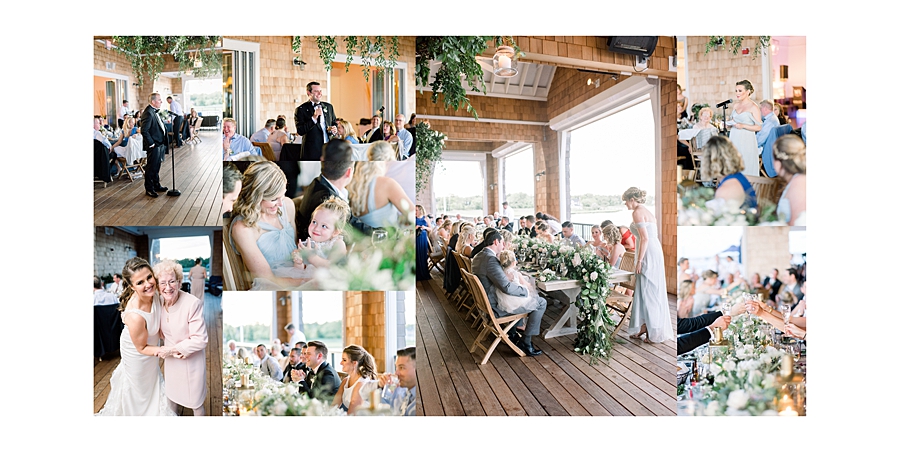
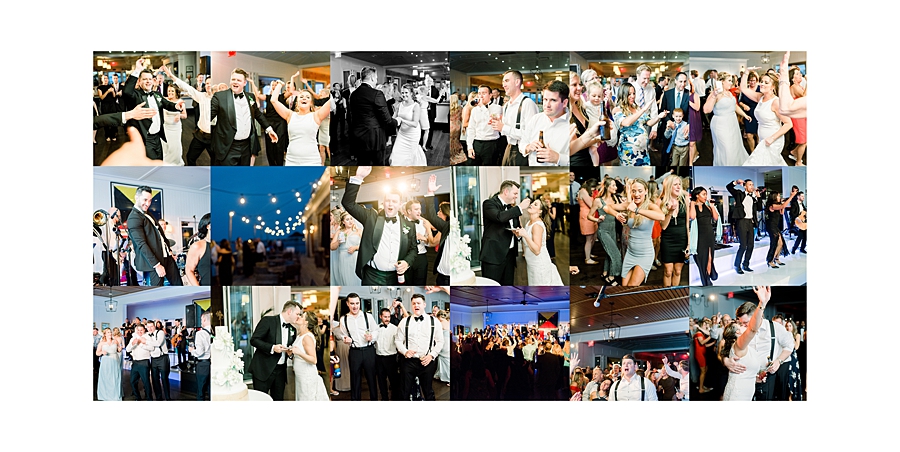
If they approve the album, you go back into the app and instead of exporting for cloud proofing, check the box to export for print. Now that you’ve exported all the spreads, they can now be printed at your album company of choice. Here are the spreads for this album so you can see what they look like! I usually design between 15-20 spreads (30-40 pages) depending on the size of the album. I send my clients 5 leather options and 5 linen options to select from in addition to choosing what it will say on the cover.



And that’s it! Hope this helps you in the future as you design your client wedding albums!


